Product categories
- ATV Parts (12236)
- Bicycle Parts (419)
- Car Parts (1332)
- Drift trike Parts (2)
- Garden Parts (1)
- Go Kart Parts (172)
- Golf Cart Parts (5623)
- Lawn Mower Parts (1388)
- Minibike Parts (47)
- Motorboat Parts (19)
- Motorcycle Parts (5407)
- OEM Parts (2805)
- Other Parts (11)
- Scooter Parts (261)
- Snowmobile Parts (835)
- Tractor Parts (743)
- Uncategorized (4)
- UTV Parts (1325)
Product tags
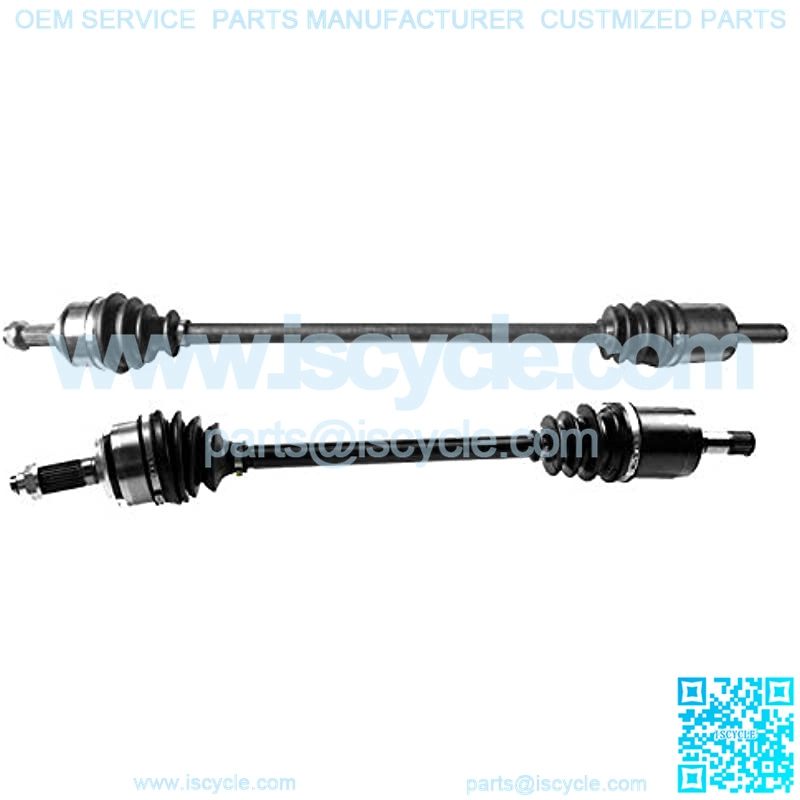
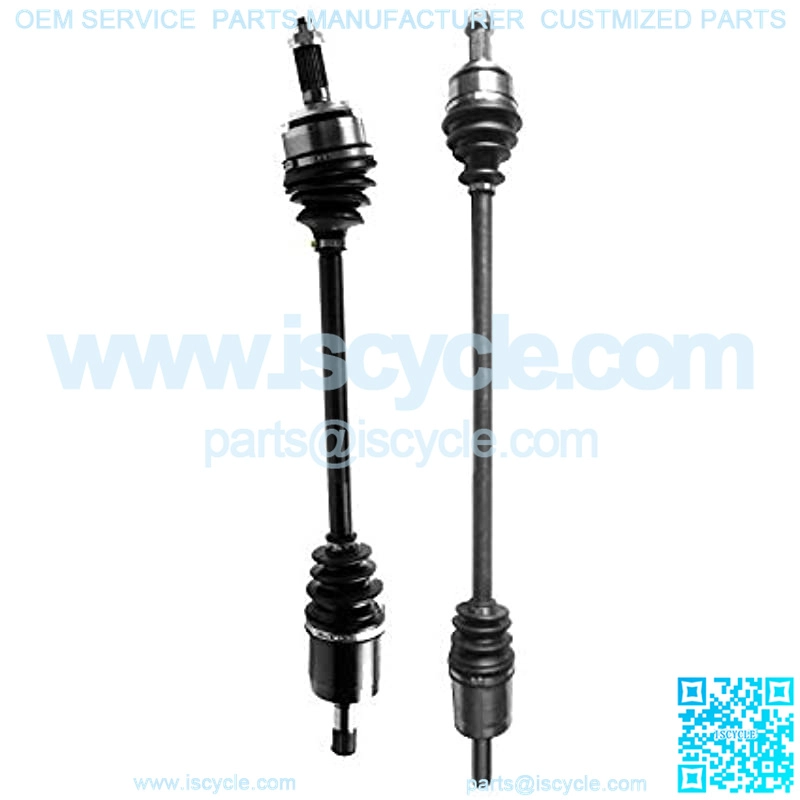
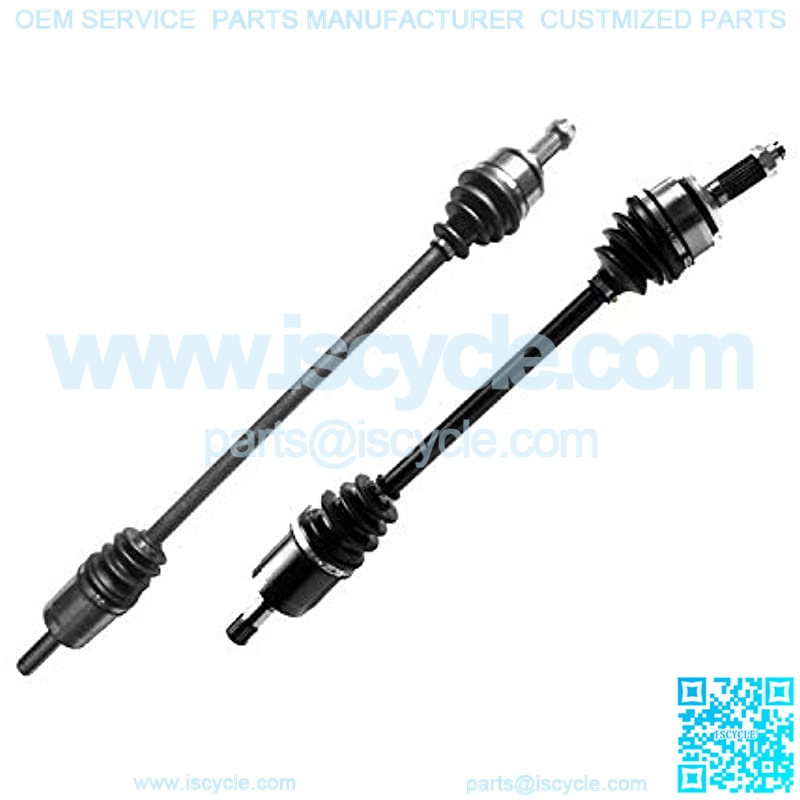
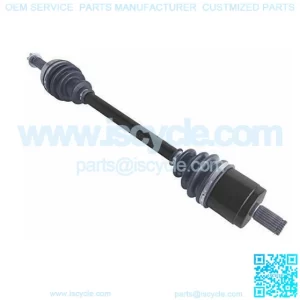
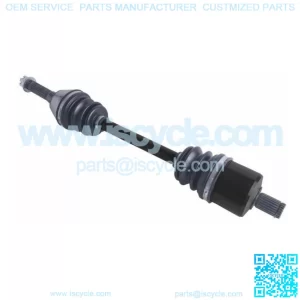
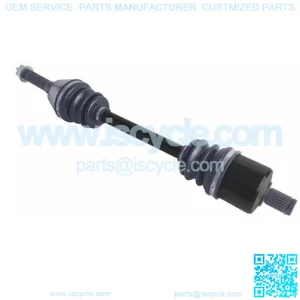
CV Joint Axle Assembly Front LH RH Pair Set of 2 Premium CV Axles Replacement for Honda Civic Auto Trans 1.8L I4 06-11 w/AT
CV Joint Axle Assembly Front LH RH Pair Set of 2 Premium CV Axles Replacement for Honda Civic Auto Trans 1.8L I4 06-11 w/AT
OE No. : NCV36568=1;NCV36569=1
Position: Front
Fitment: Replacement for Honda Civic Auto Trans 1.8L I4 06-11 w/AT
OE quality: ISO/TS16949 certified, tested to the strictest OE standards, also improved those traditional design weaknesses, to ensure vehicle fitment and product reliability.Easy Installation: Brand-New; arrives fully assembled; threads&splines are precision rolled for hassle-free direct replacement.
Warranty: A year warranty. If it does not fit your vehicle, we accept return. Please make the item clean and package in good condition.
WHAT IS a CV Axle
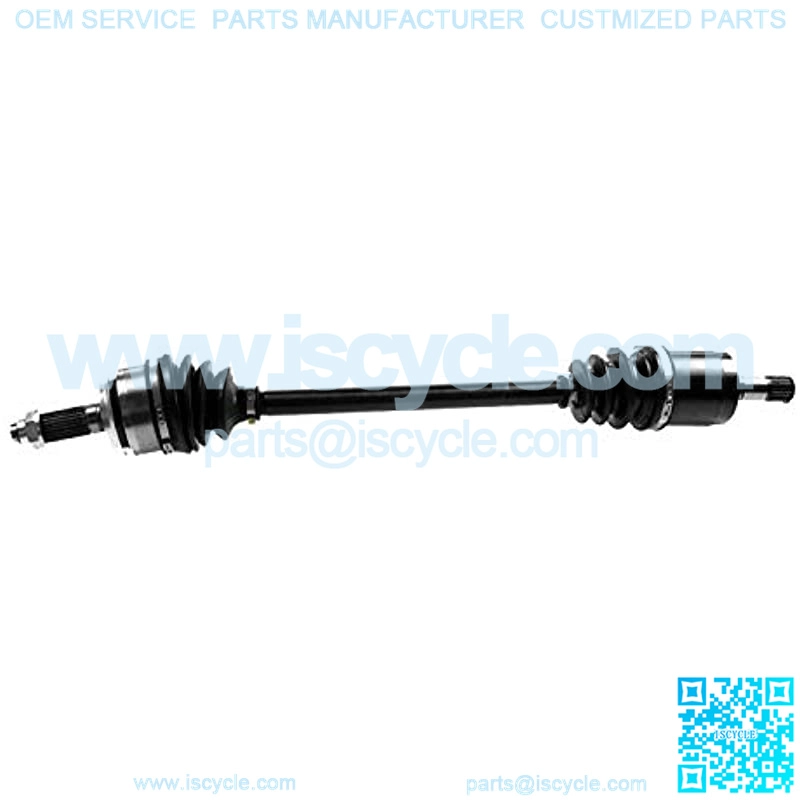
CV (constant-velocity) axles, (also known as half-shafts), are used in front-wheel drive vehicles to transfer the engine s power from the transaxle to the two drive wheels. Some late model vehicles with independent rear suspension and some four-wheel and all-wheel drive vehicles also use CV axles.
A CV axle has two CV joints (an inner joint and an outer joint). These joints allow the axle to transfer the engine’s power to the drive wheels at a constant speed while accommodating for the different travel conditions, including the up and down motion of the suspension and cornering. Without constant-velocity joints, the axles would bind or break whenever the vehicle hit a bump in the road or turned a corner.
How-to steps for replacing two CV joint axles
STEP 1
STEP 2
STEP 3
STEP 1
This is a rear drive vehicle with two CV joint axles. Start by disconnecting the battery, jacking up the vehicle and allowing some penetrating oil to soak into any retaining bolts.
STEP 2
In this case, suspension disassembly was not required. Moving brake lines and other obstacles out of the way of wrenches is a good bet before beginning.
STEP 3
Loosening but not removing the strut top mounts and sway bar end link bushings can provide a bit more suspension travel for easier axle removal.
STEP 4
STEP 5
STEP 6
STEP 4
Loosen and remove the wheel side axle mounting bolts.
STEP 5
Separate the axle from the wheel. Do not allow the axle to hang from the transmission or differential. Oil seals could be damaged.
STEP 6
Gently pull, pry or otherwise liberate the axle from the transmission or differential. Do not bend axle seals. Be careful not to tear the transmission or differential oil seals.
STEP 7
STEP 8
STETP 9
STEP 7
Don’t forget to transfer any axle seals, ABS rings or other parts to the replacement axles.
STEP 8
Guide the replacement CV joint axle into place. Depending on the type of retainer, the axle should click firmly in place.
STEP 9
Always use the proper torque on the axle bolts. Check axle rotation. Reassemble dismantled components.

